Inspecting CS2 skins is as simple as right-clicking them in your inventory.
But what if you don’t own the skin?
Does this mean you can’t inspect it in-game?
No, you can use services like CS2 Preview to generate any craft in-game without owning it.
In this article, we provide you with a step by step guide about everything you need to know about cs2 in-game inspection.
- Decide on the skin you want to inspect
On Cs2Preview you can easily pick any CS2 skin your heart desires.
If you have a specific skin you are looking for make you can just search it
2. Decide on the Stickers you want to apply
You are able to pick any sticker and apply it to the skin.
How to Move the stickers
You can freely place the stickers on the skin you have selected before.
Use the white dot to rotate the sticker
How to scrape the stickers
Many Stickers will have additional utility when being scraped.
Use the arrows to scrape your sticker.
How to make a 5x craft
5x crafts are some of the most seen in-game if you just want to use 5 stickers just press 5x.
How to lock a sticker
If you are happy with the placement you can lock your sticker in place so you can freely work on other stickers.
How to delete a sticker
If you are unhappy you can always just delete the sticker again.
3. Inspect the craft via console
This is the fastest way to check what you have crafted.
Copy the Inspect-code from CS2Preview
Open your console in CS2 and paste in the inspect-code.
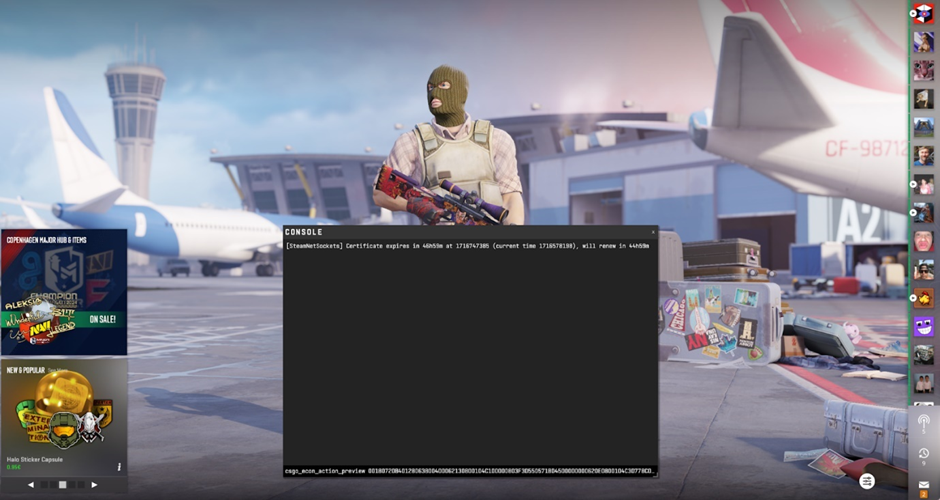
This will just open the skin you just created in CS2
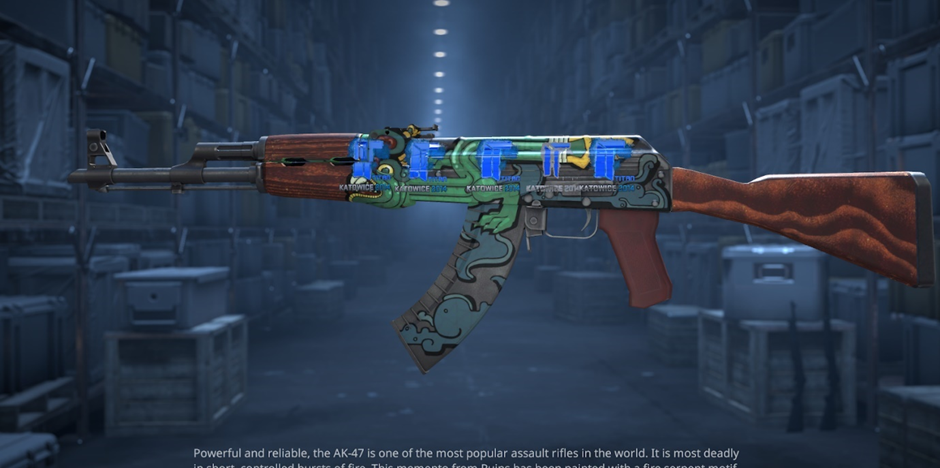
4. Actually check out your craft In-game
Keep in mind this only works on custom skin servers.
Create and copy the Gen-code
Join one of Epidemics servers
Paste it in the chat
Enjoy your craft in-game